If you are looking for a versatile and secure payment device that supports multiple payment methods and integrates with various point-of-sale systems, you might want to consider the Verifone EMV card reader. This device is designed to meet the latest standards of payment security and convenience, such as EMV, contactless, and self-service. In this article, you will learn what is Verifone EMV card reader, what are its main features and benefits, and how to use it effectively.
What is Verifone EMV Card Reader?
Verifone EMV card reader is a hybrid card reader that can accept both magnetic stripe and chip cards, as well as contactless payments such as NFC, QR code, and mobile wallets. It is part of the Verifone UX Series, a family of unattended payment devices that are suitable for various self-service environments, such as vending machines, kiosks, parking meters, gas stations, and more.
Verifone EMV card reader is also compliant with the MDB standards, which means it can communicate with the vending machine controller and enable seamless transactions. Moreover, it is certified with the PCI 5.X security standards, which means it offers the highest level of protection for cardholder data and prevents fraud and data breaches.
Some of the key benefits of Verifone EMV card reader are:
- It enhances the customer experience by offering fast, convenient, and secure payment options
- It increases the sales and revenue by accepting more payment methods and attracting more customers
- It reduces the operational costs and risks by eliminating cash handling and maintenance
- It improves the business performance and insights by providing real-time data and analytics
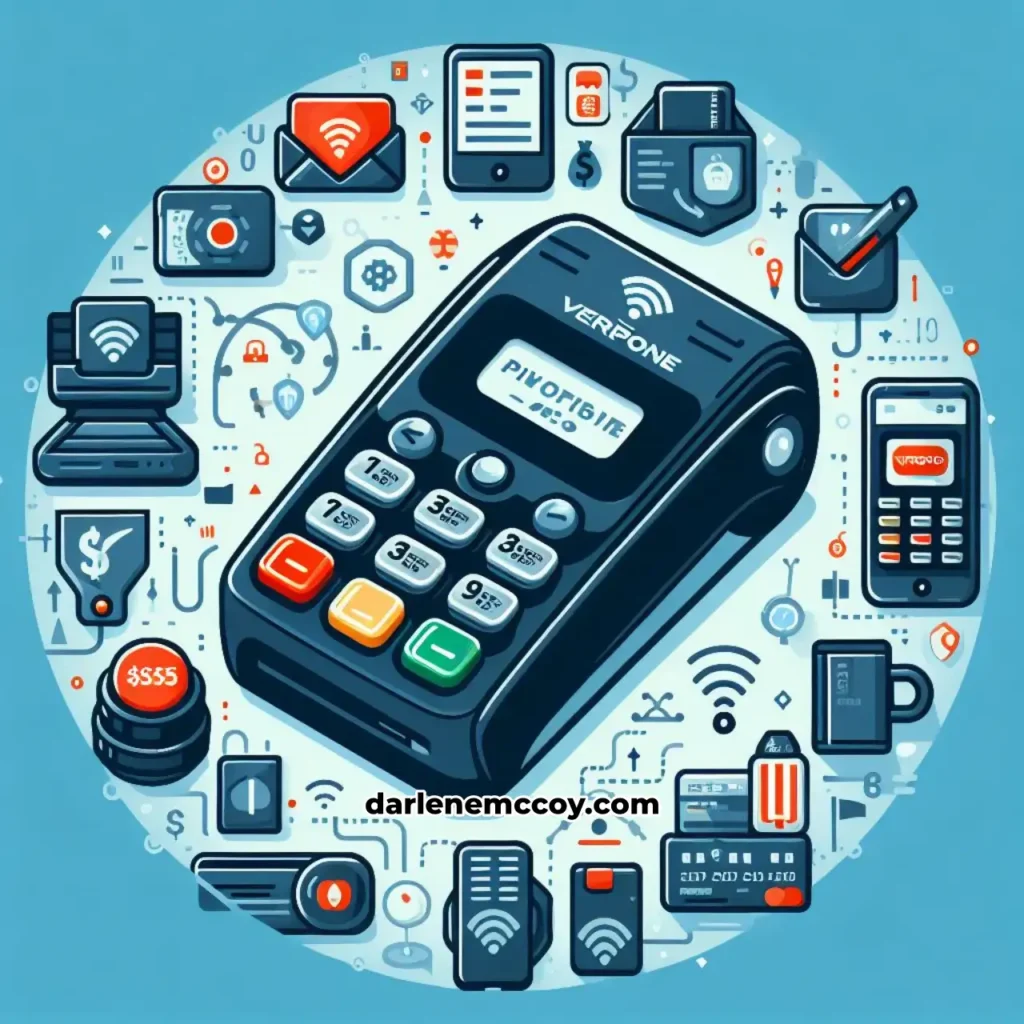
The following infographic summarizes the main features and benefits of Verifone EMV card reader:

How to Use Verifone EMV Card Reader
Using Verifone EMV card reader is easy and straightforward. However, before you can start accepting payments, you need to make sure that the device is properly installed and configured. Here are the basic steps and requirements for using Verifone EMV card reader:
- Connect the cables: Verifone EMV card reader comes with two cables: a power cable and a communication cable. The power cable connects the device to the power source, while the communication cable connects the device to the vending machine controller. You need to plug the cables into the corresponding ports on the back of the device and secure them with screws.
- Insert the battery: Verifone EMV card reader has a backup battery that allows the device to operate even when the power is interrupted. The battery is located inside the device and can be accessed by removing the cover on the back. You need to insert the battery into the slot and make sure it is properly connected.
- Insert the SIM card: Verifone EMV card reader has a SIM card slot that enables the device to connect to the cellular network and transmit data. The SIM card is provided by your payment service provider and can be inserted into the slot on the back of the device. You need to make sure that the SIM card is compatible with the device and the network.
- Switch the paper: Verifone EMV card reader has a built-in printer that prints receipts for the customers. The printer uses thermal paper rolls that can be replaced when they run out. To switch the paper, you need to open the printer cover on the front of the device and insert a new paper roll. You need to make sure that the paper is aligned with the printer head and the paper feed.
- Use the menus: Verifone EMV card reader has a display screen and four buttons that allow you to navigate the menus and access the settings. The buttons are labeled as F1, F2, F3, and F4, and correspond to the options shown on the screen. You can use the buttons to select, confirm, cancel, or go back to the previous menu. You can also use the buttons to enter the letters and special characters when required.
- Start up and shut down the terminal: Verifone EMV card reader has a power switch on the back of the device that allows you to turn the device on or off. To start up the terminal, you need to press and hold the power switch for a few seconds until the device beeps and the screen shows the Verifone logo. To shut down the terminal, you need to press and hold the power switch for a few seconds until the device beeps and the screen shows the message “Shutting down”.
- Test the connection: Verifone EMV card reader has a LED indicator on the front of the device that shows the status of the connection. The LED indicator can be green, yellow, or red, depending on the signal strength and the network availability. To test the connection, you need to press the F4 button and select the option “Test connection”. The device will then attempt to connect to the network and display the result on the screen.
These are the basic steps and requirements for using Verifone EMV card reader. In the next section, you will learn some tips and best practices for using Verifone EMV card reader effectively.
Tips and Best Practices for Using Verifone EMV Card Reader
Now that you know the basic steps and requirements for using Verifone EMV card reader, you might want to learn some tips and best practices that can help you optimize the performance and functionality of the device. Here are some of the most useful tips and best practices for using Verifone EMV card reader:
- Adjust the settings: Verifone EMV card reader has various settings that you can adjust according to your preferences and needs, such as the language, the volume, the brightness, the contrast, the font size, and the receipt format. To access the settings, you need to press the F4 button and select the option “Settings”. You can then use the F1, F2, F3, and F4 buttons to navigate and change the settings. You can also use the F4 button to restore the default settings if needed.
- Print the parameters: Verifone EMV card reader has a set of parameters that define the configuration and operation of the device, such as the terminal ID, the merchant ID, the software version, the network settings, and the security settings. To print the parameters, you need to press the F4 button and select the option “Print parameters”. The device will then print a receipt that shows the current parameters. You can use this receipt to check and verify the information and settings of the device.
- Set the batch time: Verifone EMV card reader has a batch time that determines when the device will send the transaction data to the payment service provider for processing and settlement. The batch time is usually set to the end of the day, but you can change it according to your business hours and needs. To set the batch time, you need to press the F4 button and select the option “Set batch time”. You can then use the F1, F2, F3, and F4 buttons to enter the desired time in the format HH:MM. You can also use the F4 button to cancel the batch time if needed.
- Set the cashier number: Verifone EMV card reader has a cashier number that identifies the person who is operating the device and accepting the payments. The cashier number is useful for tracking and reporting the transactions and the performance of the staff. To set the cashier number, you need to press the F4 button and select the option “Set cashier number”. You can then use the F1, F2, F3, and F4 buttons to enter the desired number in the range of 1 to 99. You can also use the F4 button to clear the cashier number if needed.
- Set the time and date: Verifone EMV card reader has a time and date that shows the current time and date on the display screen and the receipts. The time and date are important for recording and verifying the transactions and the events. To set the time and date, you need to press the F4 button and select the option “Set time and date”. You can then use the F1, F2, F3, and F4 buttons to enter the desired time and date in the format DD/MM/YYYY HH:MM. You can also use the F4 button to synchronize the time and date with the network if needed.
- Set the fixed IP address: Verifone EMV card reader has a fixed IP address that enables the device to connect to the network and the payment service provider. The fixed IP address is usually assigned by your payment service provider and can be changed if needed. To set the fixed IP address, you need to press the F4 button and select the option “Set fixed IP address”. You can then use the F1, F2, F3, and F4 buttons to enter the desired IP address in the format XXX.XXX.XXX.XXX. You can also use the F4 button to clear the fixed IP address if needed.
- Set the power options: Verifone EMV card reader has a power options that allow you to control the power consumption and the battery life of the device. The power options include the sleep mode, the standby mode, and the power off mode. The sleep mode is the default mode that reduces the power consumption and the brightness of the device when it is idle for a certain period of time. The standby mode is the mode that turns off the device but keeps the connection and the data active. The power off mode is the mode that turns off the device completely and disconnects the connection and the data. To set the power options, you need to press the F4 button and select the option “Set power options”. You can then use the F1, F2, F3, and F4 buttons to choose the desired mode and the time interval.
These are some of the most useful tips and best practices for using Verifone EMV card reader. By following these tips and best practices, you can ensure that the device is working properly and efficiently, and that you are getting the most out of it.
Conclusion
Verifone EMV card reader is a hybrid card reader that can accept both magnetic stripe and chip cards, as well as contactless payments such as NFC, QR code, and mobile wallets. It is part of the Verifone UX Series, a family of unattended payment devices that are suitable for various self-service environments, such as vending machines, kiosks, parking meters, gas stations, and more. Verifone EMV card reader is also compliant with the MDB standards and the PCI 5.X security standards, which means it offers the highest level of payment security and convenience.
In this article, you have learned what is Verifone EMV card reader, what are its main features and benefits, how to use it effectively, and some tips and best practices for using it. We hope that this article has helped you understand and appreciate Verifone EMV card reader, and that you will be able to use it with confidence and ease.
If you are interested in buying Verifone EMV card reader, you can visit the official website of Verifone and find the nearest distributor or reseller in your area. You can also contact Verifone support if you have any questions or issues regarding Verifone EMV card reader or any other Verifone products and services.
To learn more about Verifone EMV card reader and other Verifone solutions, you can also check out the following resources:
- Verifone UX Series brochure: https://www.verifone.com/sites/default/files/ux-series-brochure.pdf
- Verifone UX300 user guide: https://www.verifone.com/sites/default/files/ux300-user-guide.pdf
- Verifone UX300 installation guide: https://www.verifone.com/sites/default/files/ux300-installation-guide.pdf
- Verifone UX300 quick reference guide: https://www.verifone.com/sites/default/files/ux300-quick-reference-guide.pdf
Thank you for reading this article and we hope you have a great day!
FAQs
Here are some of the frequently asked questions and answers about Verifone EMV card reader:


