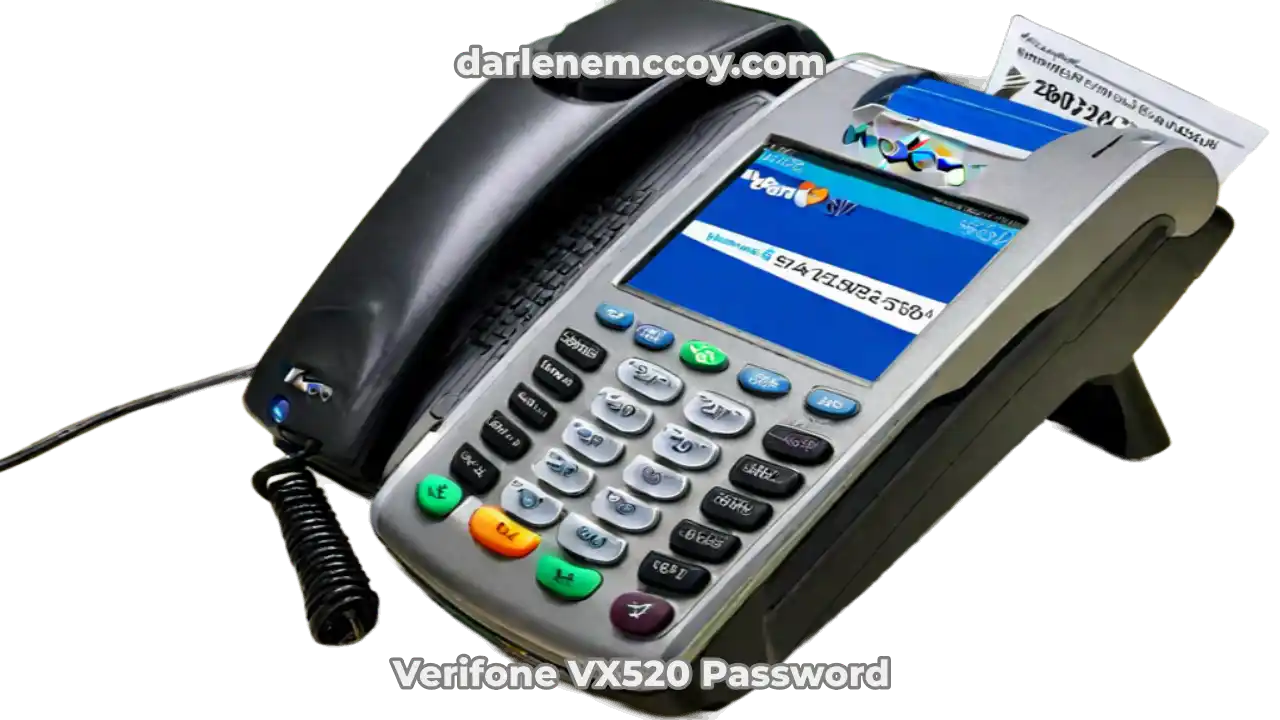
Are you looking for a reliable and secure terminal for your payment transactions? If so, you might have heard of Verifone VX520, one of the most popular terminals in the market. Verifone VX520 is a countertop device that can accept various types of payments, such as magnetic stripe, EMV chip, contactless, and mobile wallets. It also has a fast processor, a large memory, a color display, and a built-in printer.
Verifone VX520 is designed to be easy to use and maintain, but sometimes you may encounter some issues or questions with it. For example, how do you change the password, the date, the time, or the paper of the terminal? How do you troubleshoot common error messages that may appear on the screen? How do you optimize the performance and security of the terminal?
Don’t worry, we have got you covered. In this article, we will provide you with a comprehensive guide on how to change the password and other settings of Verifone VX520. We will also show you how to resolve or prevent some common errors that may affect your terminal. By the end of this article, you will be able to use and manage your Verifone VX520 terminal with confidence and ease.
How to Change the Password of Verifone VX520
One of the first things you should do when you get your Verifone VX520 terminal is to change the password. The password is a four-digit code that allows you to access the terminal’s functions and settings. Changing the password is important for two reasons:
- Security: Changing the password will prevent unauthorized access to your terminal and protect your data and transactions from fraud or theft. You should also avoid using obvious or easy-to-guess passwords, such as 0000, 1234, or your birth date.
- Convenience: Changing the password will make it easier for you to remember and enter the code when you need to use the terminal. You should also choose a password that is comfortable and convenient for you to type on the keypad.
To change the password of Verifone VX520, follow these steps:
- Press the green Enter key on the keypad to access the main menu.
- Use the arrow keys to scroll down and select Setup. Press the green Enter key to confirm.
- Enter the current password. The default password is 166831. Press the green Enter key to confirm.
- Use the arrow keys to scroll down and select Password. Press the green Enter key to confirm.
- Enter the new password. It must be a four-digit code. Press the green Enter key to confirm.
- Re-enter the new password to verify. Press the green Enter key to confirm.
- The terminal will display a message saying Password Changed. Press the red Cancel key to return to the main menu.
You have successfully changed the password of Verifone VX520. You should keep your password safe and secure, and change it regularly to maintain the security of your terminal. If you forget your password, you can reset it to the default password by following the steps in this link.
How to Change the Date and Time of Verifone VX520
Another thing you should do when you get your Verifone VX520 terminal is to change the date and time. The date and time are displayed on the screen and printed on the receipts and reports. Changing the date and time is important for two reasons:
- Accuracy: Changing the date and time will ensure that your terminal reflects the correct date and time of your location and transactions. This will help you avoid any confusion or errors with your customers, partners, or authorities.
- Compliance: Changing the date and time will ensure that your terminal complies with the local regulations and standards for payment transactions. This will help you avoid any penalties or fines for non-compliance.
To change the date and time of Verifone VX520, follow these steps:
- Press the green Enter key on the keypad to access the main menu.
- Use the arrow keys to scroll down and select Setup. Press the green Enter key to confirm.
- Enter the password. Press the green Enter key to confirm.
- Use the arrow keys to scroll down and select Date/Time. Press the green Enter key to confirm.
- Enter the new date in the format MMDDYYYY. For example, to enter February 3, 2024, type 02032024. Press the green Enter key to confirm.
- Enter the new time in the format HHMM. For example, to enter 11:26 AM, type 1126. Press the green Enter key to confirm.
- The terminal will display a message saying Date/Time Changed. Press the red Cancel key to return to the main menu.
You have successfully changed the date and time of Verifone VX520. You should check and update the date and time regularly to ensure that your terminal is accurate and compliant. If you need to change the time zone or the daylight saving time settings, you can follow the steps in this link.
How to Change the Paper of Verifone VX520
Another thing you should do when you get your Verifone VX520 terminal is to change the paper. The paper is the material that is used to print the receipts and reports for your transactions. Changing the paper is important for two reasons:
- Quality: Changing the paper will ensure that your terminal prints clear and legible receipts and reports for your customers and records. You should also use high-quality paper that is compatible with your terminal and printer.
- Quantity: Changing the paper will ensure that your terminal has enough paper to print the receipts and reports for your transactions. You should also check the paper level regularly and replace the paper before it runs out.
To change the paper of Verifone VX520, follow these steps:
- Press the latch on the right side of the terminal to open the printer cover.
- Remove the old paper roll and any paper debris from the printer compartment.
- Insert the new paper roll into the printer compartment, with the paper feeding from the bottom of the roll.
- Pull the paper out and close the printer cover, making sure the paper is not jammed or torn.
- Tear off the excess paper along the serrated edge of the printer cover.
You have successfully changed the paper of Verifone VX520. You should use thermal paper that is 57 mm wide and 40 mm in diameter for your terminal. You can order paper from Verifone or from other suppliers, as long as they meet the specifications. You can find more information on how to order paper and other supplies for your terminal in this link.
How to Troubleshoot Common Error Messages of Verifone VX520
Sometimes, you may encounter some error messages on your Verifone VX520 terminal that may affect your transactions or operations. These error messages are usually caused by some common issues, such as network problems, terminal settings, or user errors. Most of these error messages can be resolved or prevented by following some simple steps.
Here are some of the most common error messages that may appear on Verifone VX520 and how to fix them:
| Error Message | Cause | Solution |
|---|---|---|
| Connection Failed | The terminal cannot connect to the network or the processor. | Check the network cable or the phone line and make sure they are plugged in securely. Check the network settings and make sure they are correct. Restart the terminal and try again. |
| Invalid Card | The terminal cannot read the card or the card is not supported. | Check the card and make sure it is not damaged or expired. Swipe or insert the card properly and make sure the magnetic stripe or the chip is facing the right way. Try another card or another payment method. |
| Declined | The transaction is rejected by the issuer or the processor. | Check the card and make sure it has sufficient funds or credit. Check the transaction amount and make sure it is within the limit. Contact the issuer or the processor for more information. |
| Reversal | The transaction is reversed or cancelled by the issuer or the processor. | Check the receipt and make sure the transaction is completed or voided. Contact the issuer or the processor for more information. |
| Paper Out | The terminal has no paper to print the receipt or the report. | Check the paper level and replace the paper if needed. Follow the steps in the previous section on how to change the paper of Verifone VX520. |
These are some of the tips and best practices to avoid or minimize errors on your Verifone VX520 terminal:
- Keep your terminal clean and dry, and avoid exposing it to extreme temperatures, humidity, or sunlight.
- Update your terminal software and firmware regularly to ensure optimal performance and security.
- Perform regular maintenance and testing on your terminal to ensure it is working properly and efficiently.
- Contact Verifone customer support or your service provider if you need any assistance or have any questions about your terminal.
Conclusion
We hope this article has helped you learn how to change the password and other settings of Verifone VX520. We also hope you have learned how to troubleshoot some common error messages that may appear on your terminal. By following this guide, you will be able to use and manage your Verifone VX520 terminal with confidence and ease.
If you want to learn more about Verifone VX520, you can check out these additional resources:
Thank you for reading this article. We hope you have enjoyed it and found it useful. If you have any feedback or questions, please feel free to leave a comment below. We would love to hear from you. 😊.