Time needed: 5 minutes
Do you have a Jitterbug Flip Phone, the simple and easy-to-use device for seniors? If so, you might want to know how to add contacts to your phone, so you can stay in touch with your loved ones, friends, and health care providers. Adding contacts to your Jitterbug Flip Phone is a breeze, and it will make your life easier and safer. In this article, I will show you how to add contacts to your Jitterbug Flip Phone in four simple steps. You can use the keypad or voice dial to enter and manage your contacts. Let’s get started!
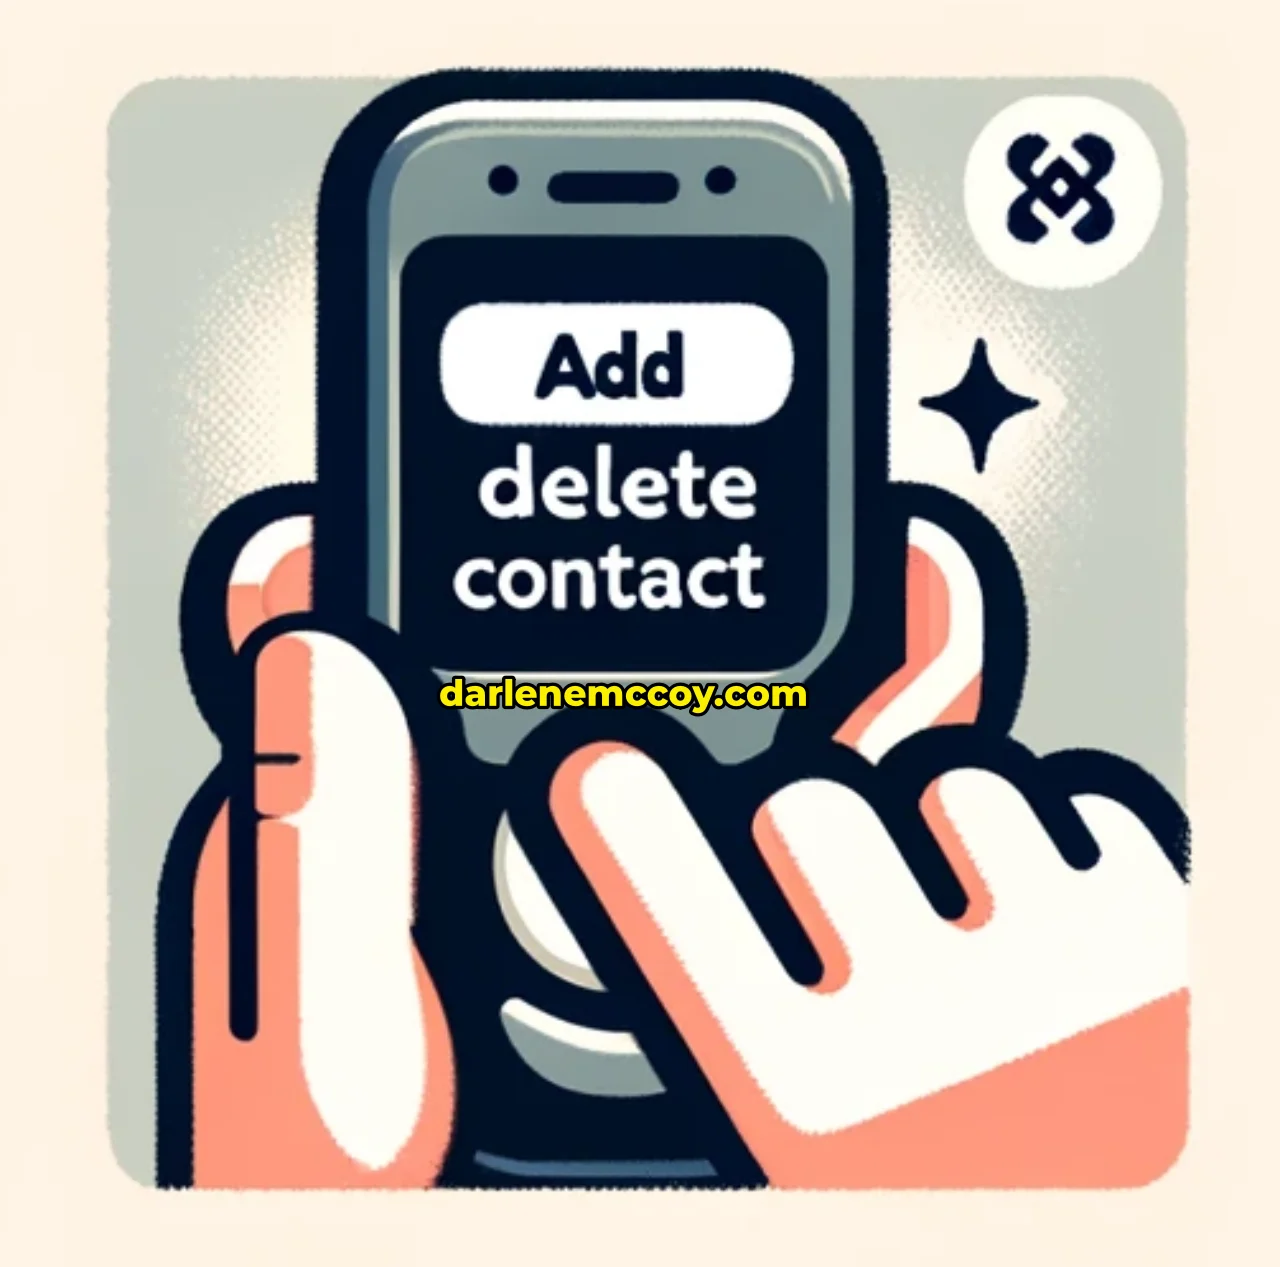
- Access the Phonebook menu
The first step to add contacts to your Jitterbug Flip Phone is to access the Phonebook menu. To do this, you need to open your phone and press the YES button. This will take you to the main menu, where you can see various options such as Phonebook, Call History, Text Messages, Camera, and more. Use the UP and DOWN buttons to scroll through the menu options until you see Phonebook. Then, press the YES button to enter the Phonebook menu. Here, you can see the list of contacts you have already added, as well as the option to add a new contact.
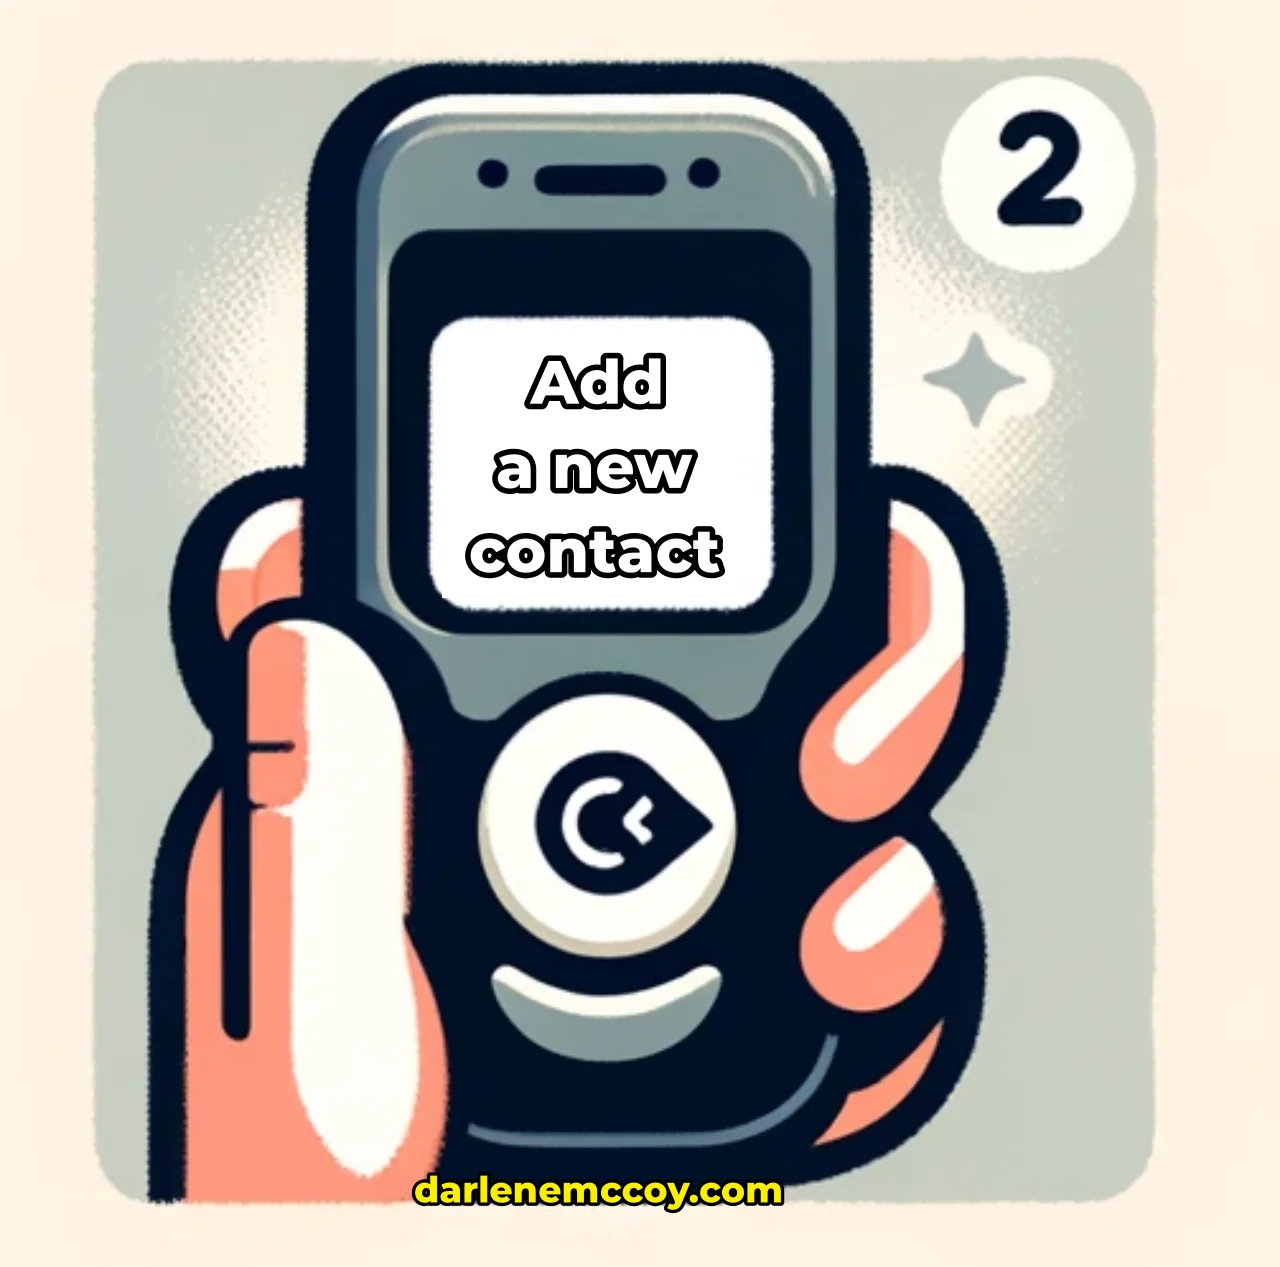
- Add a new contact
The second step to add contacts to your Jitterbug Flip Phone is to add a new contact. To do this, you need to press the YES button when you see the option to add a new contact in the Phonebook menu. This will take you to the screen where you can enter the contact name and phone number. You can use the keypad or voice input to enter the contact name and phone number. To use the keypad, you need to press the corresponding button for each letter or number. For example, to enter the letter A, you need to press the button 2 once. To enter the letter B, you need to press the button 2 twice. To enter the letter C, you need to press the button 2 three times. And so on. To use voice input, you need to press and hold the button 0 and say the name or number you want to enter. For example, to enter the name John, you need to press and hold the button 0 and say “John”. To enter the number 123, you need to press and hold the button 0 and say “one two three”. After you enter the contact name and phone number, you need to press the YES button to save the contact and return to the Phonebook menu.
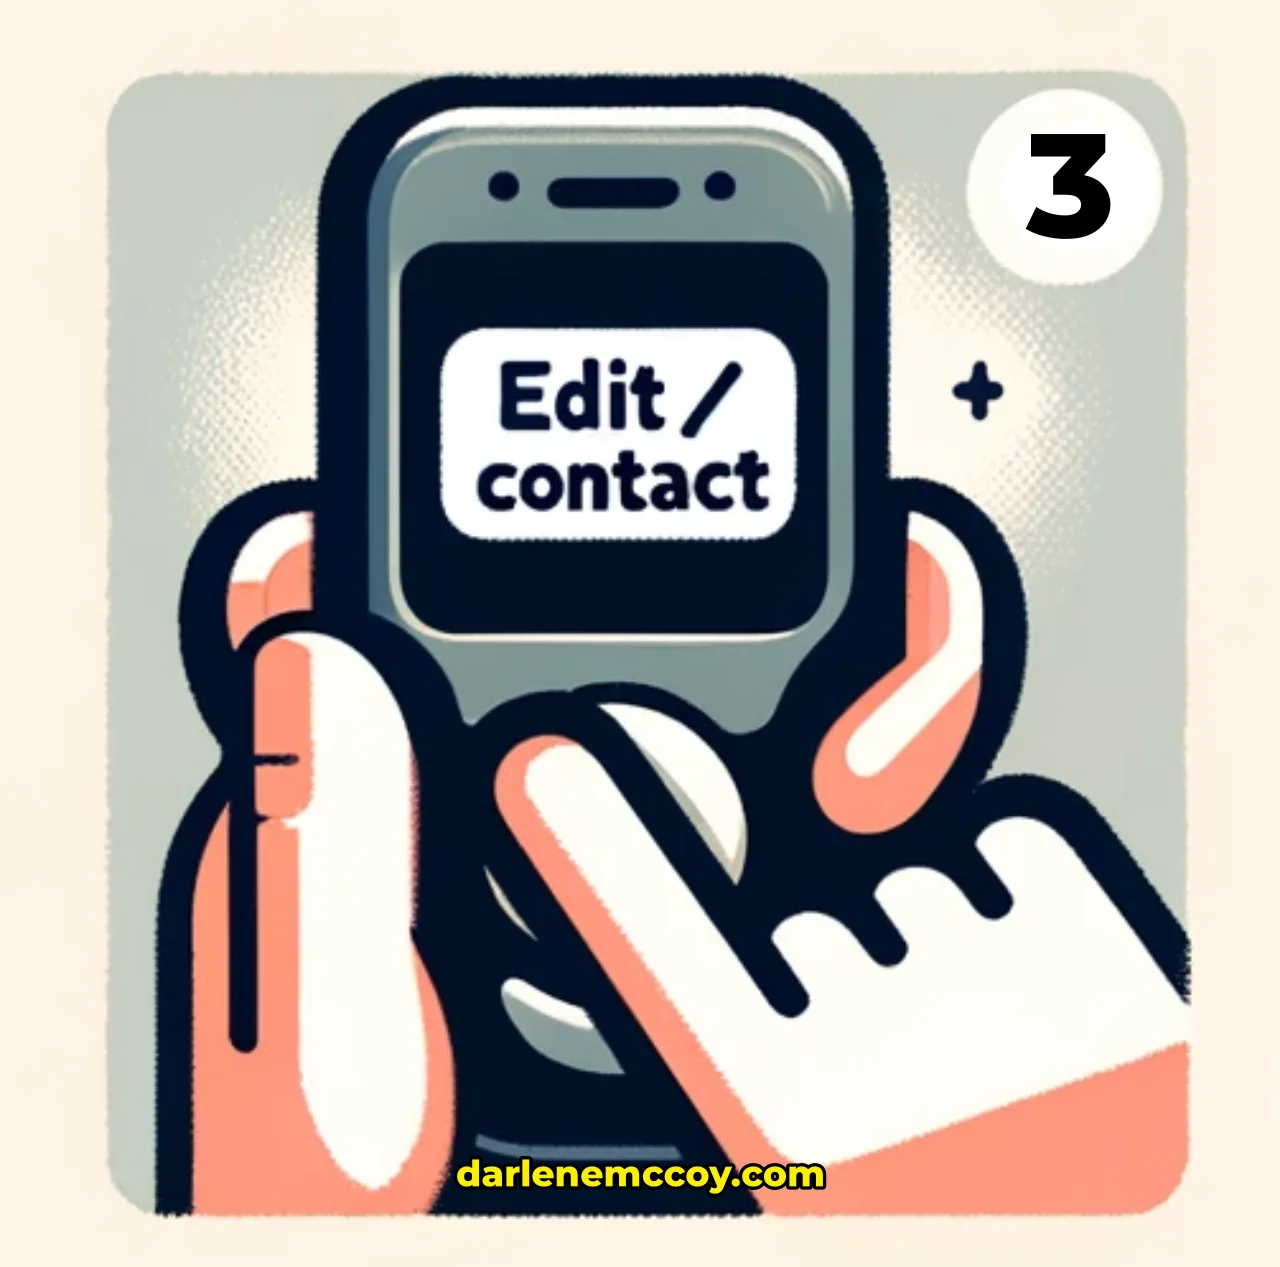
- Edit or delete an existing contact
The third step to add contacts to your Jitterbug Flip Phone is to edit or delete an existing contact. To do this, you need to use the UP and DOWN buttons to scroll through the contacts list in the Phonebook menu until you see the contact you want to edit or delete. Then, press the YES button to view the contact details. Here, you can see the contact name and phone number, as well as the option to call or text the contact. To edit or delete the contact, you need to press the OPTIONS button. This will take you to the screen where you can see the options to edit or delete the contact. To edit the contact, you need to select the option to edit and press the YES button. This will take you to the screen where you can change the contact name and phone number using the keypad or voice input, just like when you add a new contact. To delete the contact, you need to select the option to delete and press the YES button. This will ask you to confirm if you want to delete the contact. Press the YES button again to delete the contact and return to the Phonebook menu.
- Call or text a contact
The fourth and final step to add contacts to your Jitterbug Flip Phone is to call or text a contact. To do this, you need to use the UP and DOWN buttons to scroll through the contacts list in the Phonebook menu until you see the contact you want to call or text. Then, press the YES button to view the contact details. Here, you can see the contact name and phone number, as well as the option to call or text the contact. To call the contact, you need to select the option to call and press the YES button. This will dial the contact’s phone number and connect you to the call. To manage the call, you need to use the TALK and END buttons. The TALK button lets you answer, mute, or unmute the call. The END button lets you end or reject the call. To text the contact, you need to select the option to text and press the YES button. This will take you to the screen where you can compose and send a text message using the keypad or voice input, just like when you enter the contact name and phone number. After you compose the text message, you need to press the YES button to send it and return to the contact details screen.

Conclusion
Congratulations! You have learned how to add contacts to your Jitterbug Flip Phone in four simple steps. Adding contacts to your phone will help you stay in touch with your loved ones, friends, and health care providers. It will also make it easier and safer for you to use the phone’s features and functions, such as voice dial and emergency response. Here are some tips and tricks to make the most of your Jitterbug Flip Phone:
- You can add up to 200 contacts to your phone.
- You can assign a photo to each contact using the camera feature.
- You can assign a speed dial number to each contact using the options menu.
- You can search for a contact by name using the keypad or voice input.
- You can sort the contacts list by name or speed dial number using the options menu.
I hope this article was helpful and informative for you. If you have any feedback or questions, please feel free to leave a comment below. I would love to hear from you. Thank you for reading and have a wonderful day! 😊