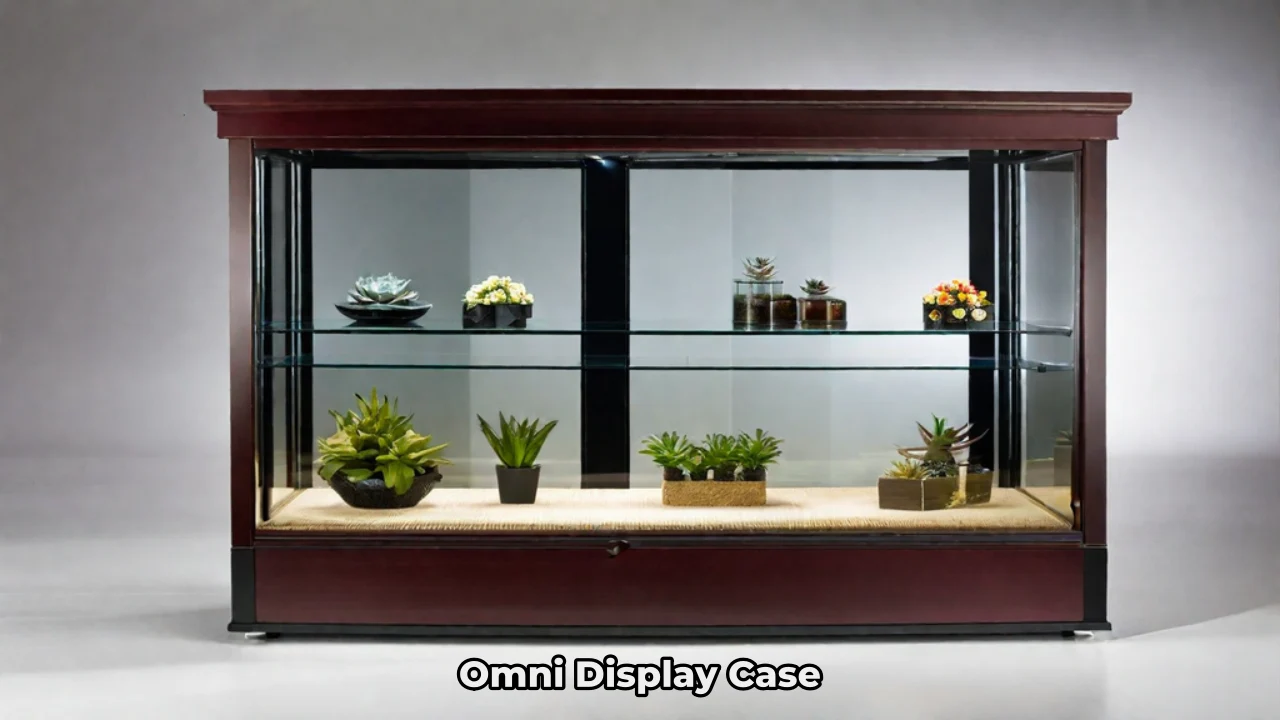
Do you have a collection of miniatures that you want to show off in a cool and creative way? Are you tired of the boring and expensive display cases that limit your options and imagination? If you answered yes to any of these questions, then you are in luck. In this article, I will show you how to create your own omni display case, a modular and 3D printed display system that lets you design and build your own display case with different themes and features.
Omni display case is a revolutionary technology that allows you to create your own display case using 3D printed components that can be easily assembled and customized. You can choose from various sizes and shapes of modules, and add accessories and features such as LED lights, acrylic panels, decals, and more. You can also mix and match different themes and styles, such as sci-fi, fantasy, horror, etc., to create a unique and immersive scene for your miniatures.
The best part is that omni display case is very affordable and easy to make. All you need is a 3D printer, some resin, and the STL files for the omni display case components. You can also use some tools and materials that you probably already have at home, such as magnets, screws, glue, etc. With a little bit of time and creativity, you can create your own omni display case that will impress your friends and family.
In this article, I will guide you through the steps of creating your own omni display case, from getting the STL files, to printing and assembling the components, to adding some finishing touches. I will also share some tips and tricks to make your omni display case look awesome and realistic. By the end of this article, you will be able to create your own omni display case that will showcase your miniatures in a stunning and fun way.
How to create your own omni display case
To create your own omni display case, you will need the following materials and tools:
- A 3D printer and resin. You can use any 3D printer that can print with resin, such as Elegoo Neptune 3 Max, Elegoo Mars 2 Pro, Anycubic Photon Mono, etc. You can also use any resin that is compatible with your 3D printer, such as Elegoo ABS Like Resin, Anycubic Eco Resin, Siraya Tech Fast Resin, etc.
- The STL files for the omni display case components. You can get them from [Omni – Modular Display Case Campaign] or [3D Print your own Display Case!]. These are the official sources for the omni display case STL files, and they offer different packages and options for different budgets and preferences. You can also support the creators of omni display case by backing their Kickstarter campaign or buying their products on Etsy.
- A slicer software. You will need a software that can slice the STL files into layers and generate the instructions for your 3D printer. You can use any slicer software that works with your 3D printer, such as Chitubox, Lychee Slicer, Prusa Slicer, etc.
- A wash and cure station. You will need a device that can clean and cure the printed components, such as Elegoo Mercury X Bundle, Anycubic Wash and Cure Station, Creality UW-01, etc. You can also use some DIY methods, such as using a bucket of water and a UV lamp, but a wash and cure station will make the process easier and faster.
- Some magnets, screws, or glue. You will need some materials that can help you assemble the omni display case components, depending on your preference and design. You can use magnets, screws, or glue, or a combination of them, to connect the components and make them stable and secure.
- Some accessories and features. You will need some materials that can add some flair and functionality to your omni display case, such as LED lights, acrylic panels, decals, etc. You can also use some items that you already have, such as stickers, paint, etc., to decorate your omni display case and make it more personal and unique.
Once you have all the materials and tools ready, you can follow these steps to create your own omni display case:
- Get the STL files for omni display case from [Omni – Modular Display Case Campaign] or [3D Print your own Display Case!]. You can choose from different packages and options, such as the basic package, the deluxe package, the sci-fi package, the fantasy package, etc. You can also mix and match different components, such as the base, the walls, the roof, the doors, etc., to create your own custom design. You can download the STL files to your computer or save them to a USB drive or a memory card.
- Choose your preferred 3D printer and resin. You can use any 3D printer that can print with resin, and any resin that is compatible with your 3D printer. You can also choose different colors and types of resin, such as transparent, opaque, flexible, etc., to create different effects and textures for your omni display case. You can also use different settings and parameters for your 3D printer, such as layer height, exposure time, bottom layers, etc., to optimize the print quality and speed.
- Slice the STL files using your preferred software. You will need a software that can slice the STL files into layers and generate the instructions for your 3D printer. You can use any slicer software that works with your 3D printer, such as Chitubox, Lychee Slicer, Prusa Slicer, etc. You can also use different features and options for your slicer software, such as hollowing, supports, infill, etc., to improve the print efficiency and durability.
- Print the omni display case components. You will need to load the sliced files to your 3D printer, either by using a USB drive, a memory card, or a cable. You will also need to fill the resin tank with your chosen resin, and level the build plate. Then, you can start the print and wait for it to finish. Depending on the size and number of components, the print time may vary from a few minutes to a few hours. You can monitor the print progress and status on your 3D printer’s screen or app.
- Clean and cure the printed components. You will need to remove the printed components from the build plate, and clean them with water or alcohol to remove any excess resin. You will also need to cure them with UV light to harden and strengthen them. You can use a wash and cure station, such as Elegoo Mercury X Bundle, Anycubic Wash and Cure Station, Creality UW-01, etc., to automate the cleaning and curing process. You can also use some DIY methods, such as using a bucket of water and a UV lamp, but a wash and cure station will make the process easier and faster.
- Assemble the omni display case components. You will need to connect the omni display case components using magnets, screws, or glue, depending on your preference and design. You can use magnets to make the components snap together and allow for easy reconfiguration and modification. You can use screws to make the components more stable and secure, and prevent them from falling apart. You can use glue to make the components more permanent and seamless, and eliminate any gaps or cracks. You can also use a combination of them, such as using magnets for the walls and roof, and screws for the base and doors.
- Add some accessories and features to your omni display case. You will need to add some flair and functionality to your omni display case, such as LED lights, acrylic panels, decals, etc. You can use LED lights to create different lighting effects and moods, such as warm, cool, colorful, etc. You can use acrylic panels to protect your miniatures from dust and damage, and enhance their visibility and appearance. You can use decals to add some details and decorations, such as logos, symbols, signs, etc. You can also use some items that you already have, such as stickers, paint, etc., to decorate your omni display case and make it more personal and unique.
Tips and tricks to make your omni display case look awesome
To make your omni display case look awesome and realistic, you can follow these tips and tricks:
- Choose a theme for your omni display case. You can choose a theme that matches your miniatures, such as sci-fi, fantasy, horror, etc., and match the colors and decorations accordingly. You can also mix and match different themes and styles, such as steampunk, cyberpunk, post-apocalyptic, etc., to create a unique and immersive scene for your miniatures.
- Use different sizes and shapes of omni display case modules. You can use different sizes and shapes of modules, such as square, rectangular, hexagonal, etc., to create a dynamic and interesting layout for your miniatures. You can also stack and arrange the modules in different ways, such as horizontal, vertical, diagonal, etc., to create different levels and perspectives for your miniatures.
- Experiment with different angles and positions of your miniatures. You can experiment with different angles and positions of your miniatures, such as facing, sideways, upside.
Conclusion
In this article, I have shown you how to create your own omni display case, a modular and 3D printed display system that lets you design and build your own display case with different themes and features. You have learned how to get the STL files, how to print and assemble the components, and how to add some accessories and features to your omni display case. You have also learned some tips and tricks to make your omni display case look awesome and realistic.
Omni display case is a great way to showcase your miniatures in a cool and creative way. It is also very affordable and easy to make, as you only need a 3D printer, some resin, and the STL files. You can also customize your omni display case to suit your preferences and style, and create different scenes and stories for your miniatures.
I hope you enjoyed this article and found it helpful and informative. If you have any questions or comments, please feel free to leave them below. I would love to hear from you and see your omni display case creations. You can also share your omni display case with other enthusiasts on social media platforms, such as Instagram, YouTube, etc., and get some feedback and inspiration.
Thank you for reading this article, and happy 3D printing!
FAQs
Here are some frequently asked questions and answers about omni display case:
- Q: What is omni display case?
- A: Omni display case is a modular and 3D printed display system that lets you design and build your own display case with different themes and features.
- Q: Where can I get the STL files for omni display case?
- A: You can get the STL files for omni display case from [Omni – Modular Display Case Campaign] or [3D Print your own Display Case!]. These are the official sources for the omni display case STL files, and they offer different packages and options for different budgets and preferences.
- Q: What 3D printer and resin do I need to create my own omni display case?
- A: You can use any 3D printer that can print with resin, and any resin that is compatible with your 3D printer. You can also choose different colors and types of resin, such as transparent, opaque, flexible, etc., to create different effects and textures for your omni display case.
- Q: How do I assemble the omni display case components?
- A: You can assemble the omni display case components using magnets, screws, or glue, depending on your preference and design. You can use magnets to make the components snap together and allow for easy reconfiguration and modification. You can use screws to make the components more stable and secure, and prevent them from falling apart. You can use glue to make the components more permanent and seamless, and eliminate any gaps or cracks.
- Q: How do I add some accessories and features to my omni display case?
- A: You can add some accessories and features to your omni display case, such as LED lights, acrylic panels, decals, etc. You can use LED lights to create different lighting effects and moods, such as warm, cool, colorful, etc. You can use acrylic panels to protect your miniatures from dust and damage, and enhance their visibility and appearance. You can use decals to add some details and decorations, such as logos, symbols, signs, etc.
- Q: How do I make my omni display case look awesome and realistic?
- A: You can make your omni display case look awesome and realistic by following these tips and tricks:
- Choose a theme for your omni display case, such as sci-fi, fantasy, horror, etc., and match the colors and decorations accordingly.
- Use different sizes and shapes of omni display case modules to create a dynamic and interesting layout for your miniatures.
- Experiment with different angles and positions of your miniatures to create a realistic and immersive scene.
- Use some weathering and painting techniques to add some details and effects to your omni display case, such as rust, dirt, blood, etc.